WILL Website Manual for Content Authors
How to Publish Web Content: details on creating and editing content of all types
How to Publish Web Content
You publish website content using our Content Management System by filling out Entry forms containing a number of different fields.
There are a number of different field types: text, rich text, image, upload, etc. This section of the manual covers the details of using each field. As a creator, you have freedom to create and publish great content in our system, but there are important requirements and limitations. We want to give users an awesome experience, but also a consistent one. Read and follow these instructions to reach the maximum possible audience, and make your job easier!
Logging into the CMS
You create website content by:
- logging into our CMS through a browser
- choosing a section you want to post to (News, Focus, etc.)
- filling out a new Entry form
Access to the CMS is managed by the Webmaster, who will grant access to different sections of the site for different roles. When you log in, you have access to the sections assigned to you but not other sections.
Log in here: https://will.illinois.edu/admin.php?/cp/login
If you forget your password, please use the “Forgot your password?” link on the login page. The Webmaster cannot reset your password, but you can easily do this any time.
Once you log in, you can create content in your site sections, and you can edit your existing content.
Edit Existing Content the Easy Way
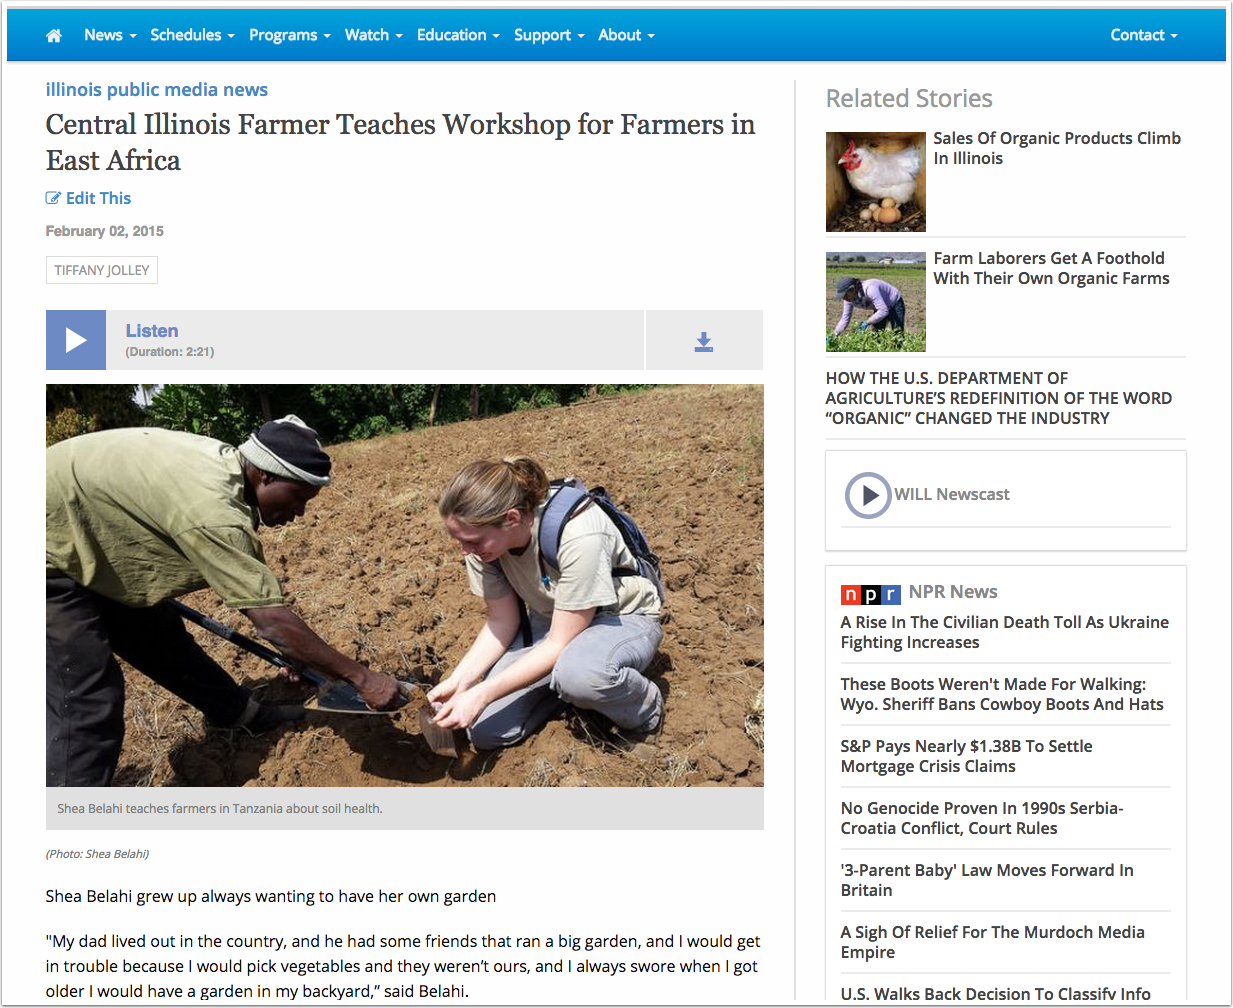
Once you are logged in to the CMS, you can edit existing entries directly from the front-end of the website. One each Entry page, beneath the Title of the entry you'll see a link to Edit this entry:
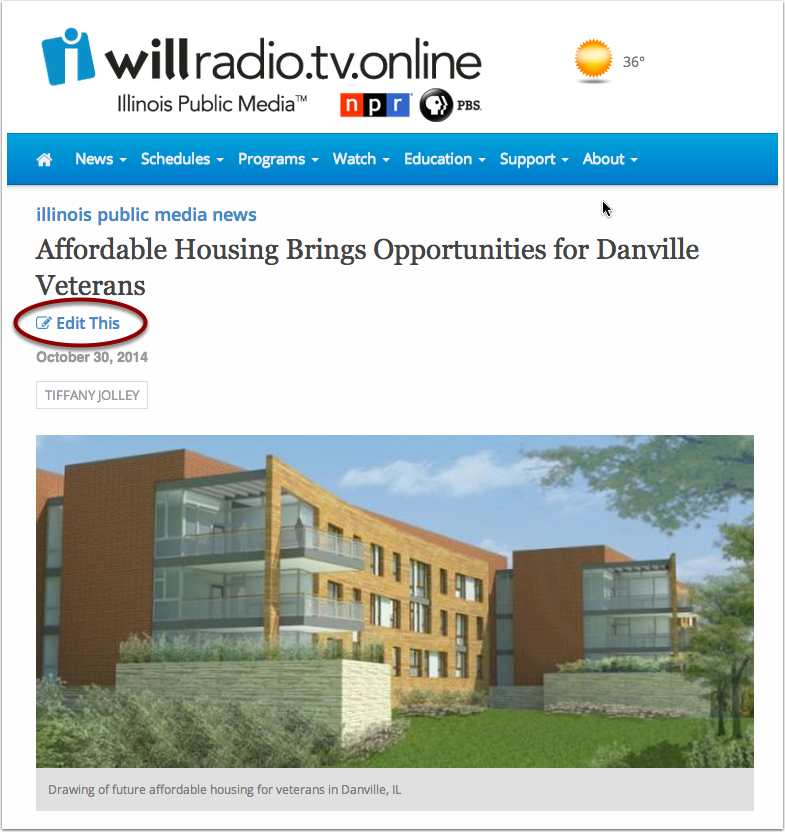
The Editing page for the entry will open in a new browser tab, where you can make whatever edits are needed.

Remember that the Edit links only display if you are already logged into the CMS. Users who just visit the site will never see these links.
Entry Date
At the very top of every Entry form is a field labeled Entry Date. It defaults to “today” and in many cases you don’t need to change it. (In some sections, Entry Date is located in a separate tab in the Entry form labeled “Date”.) If you need to change the Entry date, click inside the field and up pops a date picker:
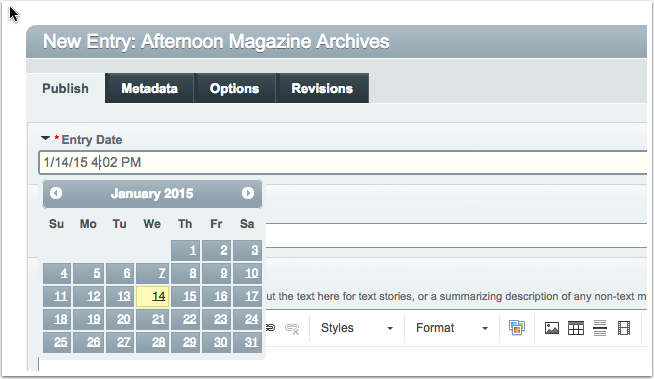
You can edit the date and time by hand, instead of just using the date picker. But:
You must stick to this format: “MM/DD/YY HH:MM AM” or the system won't recognize the date.
If you are adding an entry for a Radio or TV program in the past or future, be sure to select the date of broadcast. That date will appear on the web page with that program, and sort the entry correctly by date on List View pages.
Almost all entries on List View pages are displayed with the most recent at the top, and earlier entries sorted below that in descending order. Think of this like a Blog; newer entries push the older ones down the page. The only exception is if you make an entry Sticky, which keeps it at the top of the page. (If more than one entry is made Sticky, the sticky entries will sort themselves by date.)
Future Entries
You can create an entry and give it an Entry Date any time in the future, and even specify it to the minute. Almost all sections of the site are set to NOT display “future entries,” so you can add entries for programs a week or month in advance and they won’t appear on the site until their Entry Dates.
Expiration Date
Some sections of the site can also set Expiration Dates, so content can be “unpublished” from the site at a set date and time.
For most broadcast programs, this isn’t relevant since we want to maintain a permanent program archive. If an entry can be expired, you’ll see a field in the entry form for Expiration Date.
When you click into the Entry or Expiration Date field, a date picker pops up. Best to use this by clicking the actual date in the date picker. You can manually edit the Entry Date, but be careful not to mistype something because that will break the date of the entry. You can type in the date field, but you must stick to this format: “MM-DD-YY HH:MM AM”.
Make an entry Sticky
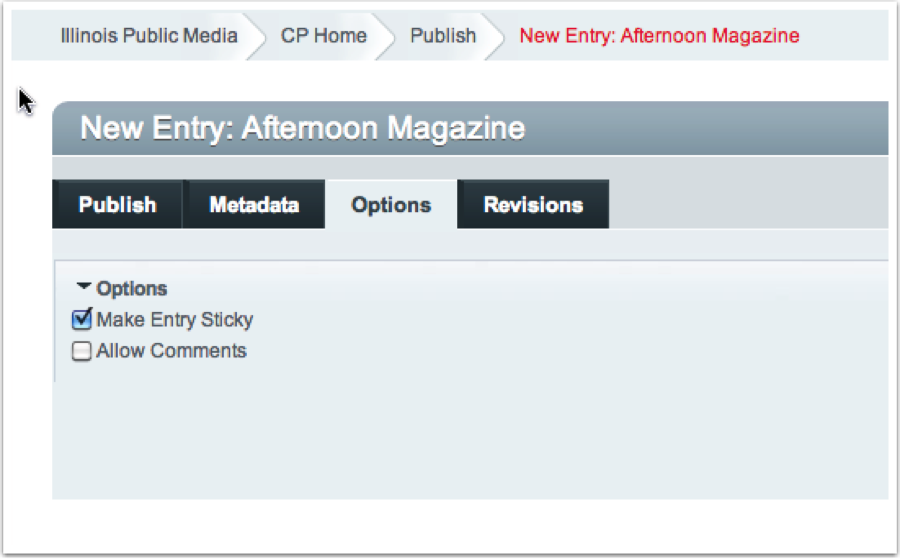
If you make an entry Sticky, it will stick to the top of whatever Listing page it's on. To make an entry Sticky, click the Options tab and check the box labeled Make Entry Sticky:
When to use Sticky:
- For Promotional items you want to keep at the top
- For a big News story you want to display above the fold
If several entries in the same section are set to Sticky, they will appear in descending date order.
Entry Title (required)
A good Title for each entry is extremely important. The Title is what first grabs people.
Title is like the headline for a news story: “Cubs Chairman Ricketts Threatens to Move Team.” It catches eyes, but also search engine crawlers. Importantly, title also becomes the last part of the URL for that entry page:
http://will.illinois.edu/news/story/cubs-chairman-ricketts-threatens-to-move-teamFor Pages entries, the title may be simpler, like About WILL.
Above all, make the title mean something about the content. Please don’t use anything generic like “Program for June 3, 2013.” You might think a user would understand it in context. But if the user is a search service crawling the site, all it sees is a link for “Program for June 3, 2013,” and that’s useless for making the actual content searchable. It also drags down our overall search engine ranking by making our site hard to index.
Think of it like this: the Entry Title is what shows up on Google. How do you want your content to be displayed on search results pages?
Byline (optional)
Any text entered in the Byline will appear at the top of the entry on web pages, e.g. “by John Adams.” Mostly used for News stories.
Description (required)
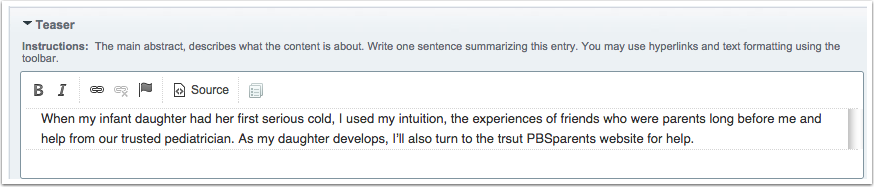
The Description holds the main part of your entry. It should consist mostly of text, but can contain many other things: images, audio, video, and embed code. But unless you are writing a very rich and complex multimedia article, please use the Image, Audio, and Video fields for those things. Description should be the text of your entry.
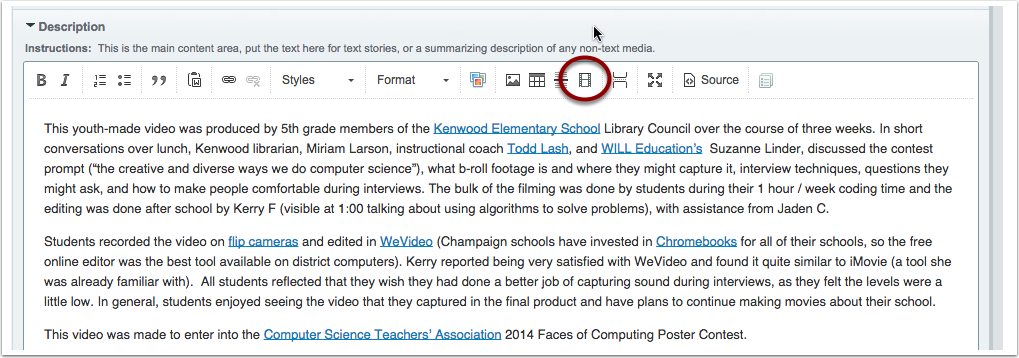
Note the formatting strip at the top of the Description field:

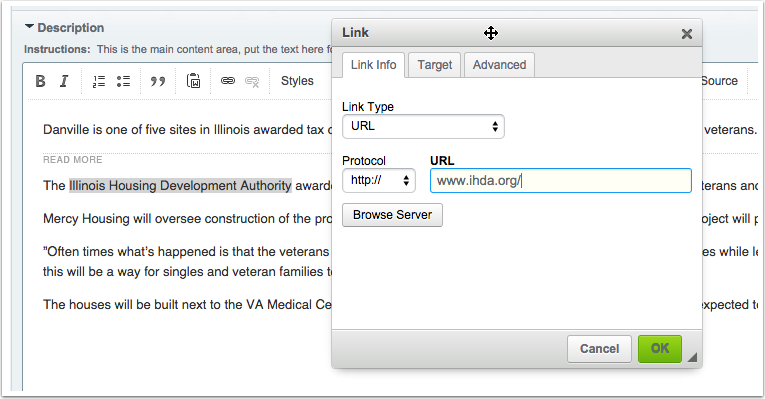
Most of the options may be obvious: Bold and Italic work just like in Word and other text editing software. You can add hyperlinks to text by using the link button. Just highlight the text you want to make a hyperlink, then click the link button, and enter the full url to link to:
Images
People are drawn to great images, and the web is a great place for them. You should add one or more great images for each Entry.
Even more important is consistent image size and shape. A List View page containing a wide variety of images with different sizes and shape looks jumbled and chaotic. Some variation is aesthetically pleasing, but only within a defined range of variations. (A great example is http://www.npr.org)
The website CMS will automatically resize images for display on various pages
All you have to do is upload a great image into the Entry form, and the CMS creates all these sizes automatically. The image you upload should be 800px by 600px at a minimum. You can upload larger images, such as 1600x1200, or 2400x1800. Make sure to save them for the web in Photoshop, and use high quality export settings.
Images you upload are displayed in different sizes on List View page and single-Entry pages, on the Home page, and various other places.
Important:
- We must use only images for which we have the rights to publish.
- You can add a Caption for display under the image on most web pages. (Captions don’t display in some places like the Slideshows.)
- Describe the image for users with visual impairments. This is very very very important, and is a legal requirement for WILL as a state-funded institution. This description is added to the HTML code that renders the image, so if user cannot see the image she can still understand its meaning because her screen reader will read it aloud.
- How to describe images for the visual-impaired: Write a short sentence as if you were describing the image to someone on the phone. If the photo is Robin Kaler speaking at a podium announcing large raises for WILL staff, the description would NOT be "Robin Kaler announced large raises for WILL staff," it would be "Robin Kaler speaking at a podium."
Here is the Images field in the CMS:

Note the sub-fields you can use to add a caption, select "yes" or "no" for rights to reuse, add a description for visually-impaired users, a Photo Credit, and even make the image link to another web page. All sub-fields are optional except the description for blind users.
Federal and state laws require us to make our content understandable to people with visual and other impairments. The description of the image serves to make the image understandable to someone who can't see it. This is often very different from the Caption. Think of the Description this way: How would you describe the image in a single sentence to someone over the phone? That's what you should enter in the image Description sub-field.
When you upload an image, make sure it is at least 800px wide by 600px tall. Even better, 1600x1200. This will ensure that the image looks good when displayed on single-entry pages.
Please note the little star, circled here in red:

By default, this image will not be displayed at all on the single-entry page for this entry. To make it display you have to click the star:
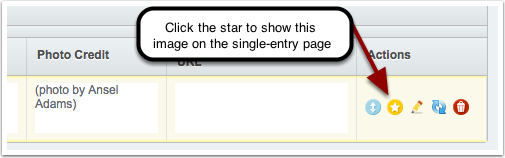
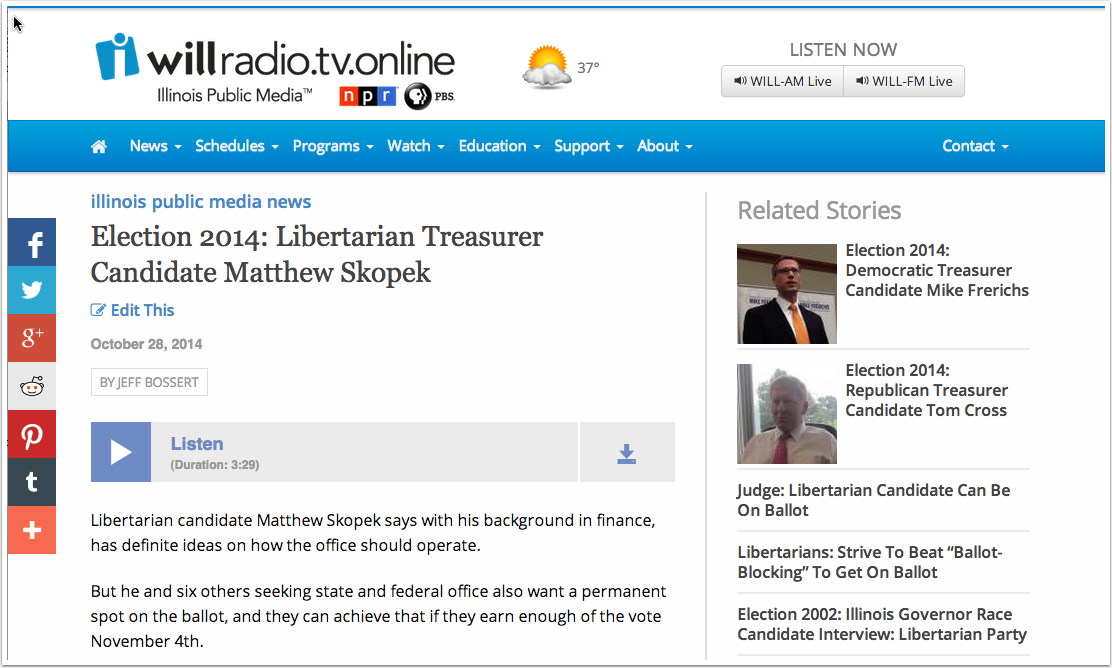
By clicking the star you make this image a "cover image" on the single-Entry page, which it will display at the top of the main text like this:
Why not show the image by default on single-Entry pages?
Despite your best efforts, you might not be able to find an 800x600 image for every entry. Even though we really want consistency in our image sizes (at 800x600 minimum, and a landscape aspect ratio), there will be times when a different image shape (e.g. portrait) is the best choice for the story. On the single-Entry page, we don't want to enlarge a smaller image (which looks terrible) or display an odd-shaped image at the top of the text. So we made it optional.
Even when the image isn't displayed on the single-Entry page, the image will appear in any social media "shares" and also appears in smaller size on the section home page.
You can add images by drag-and-drop
Sure you can upload images by clicking the Upload Images link and browsing to the images you want. But you can also just drag and drop them straight into the Images field in the entry form. It's so much more fun.
And don't forget you can re-use uploaded images any time, by clicking the Stored Images link:
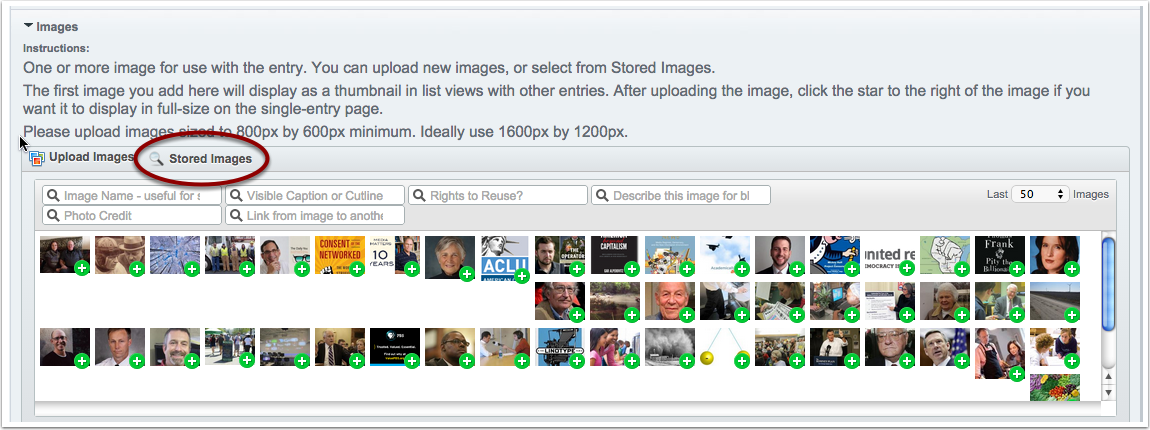
You can then use the search fields to find images by image name, caption, rights to reuse, photo credit, and all the other metadata added to the images when they were first uploaded. Hey, another reason to care about metadata!
Square Thumbnail Image (available for specific sections but not others)
Square Thumbnails appear only on the Home pages, including the WILL Highlights/sidebar, News, Focus, Live & Local, and other local programs that have presence on the Home pages. They are designed to fit the small space there.
The most important thing to know about adding them to Entries is this:
Start with a square image, cropped the way you want it.
Otherwise, adding Square Thumbnails is the same as adding regular Images.
Audio File (optional)
Our website is set up to display a “Listen” button if you’ve added an mp3 audio file to a given entry. (Please note: ONLY mp3 files will work!)
There are several ways to add an Audio file:
- Click Upload Files and browse to your mp3 file.
- If you are reusing an mp3 file that has been uploaded previously (rare), you can click the Stored Files button and search for it.
- But the easiest (and awesome-est) way to add an mp3 file is to drag and drop it from your computer right into the Audio File field in the Entry form.
For Pages entries, the title may be simpler, like About WILL.
You can optionally add a Description of the audio file. This will appear just above the audio player, so users can understand without ambiguity what it is they are listening to. But in many cases, this isn’t needed, because the Entry Title also will appear in the audio player.
Video Embed (optional, available most sections)
Adding video to Entries is easy: just paste in Embed code from YouTube, Vimeo, COVE, or any other standard video hosting site into the Video Embed field:
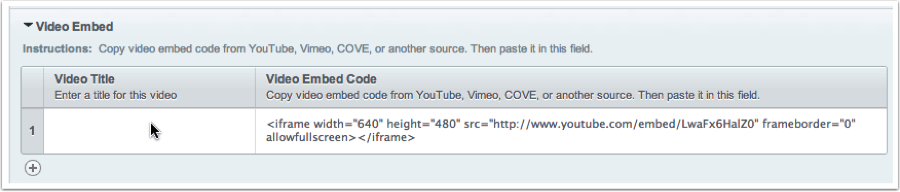
You can optionally add a Video Title, which will appear as a header above the video on the web page. Often this isn’t needed, and may seem redundant, because the embedded video itself will display the title.
Advanced Video Embedding
You can add more than one video per entry, but they will appear one after another on the web page. To get around this, you can also embed video directly in the Description field, and place it where you want in the body of text. Put your cursor in the Description field in the place you want to insert the video, and click the Embed button in the Description field toolbar:
In the pop up window that appears, past the video embed code:
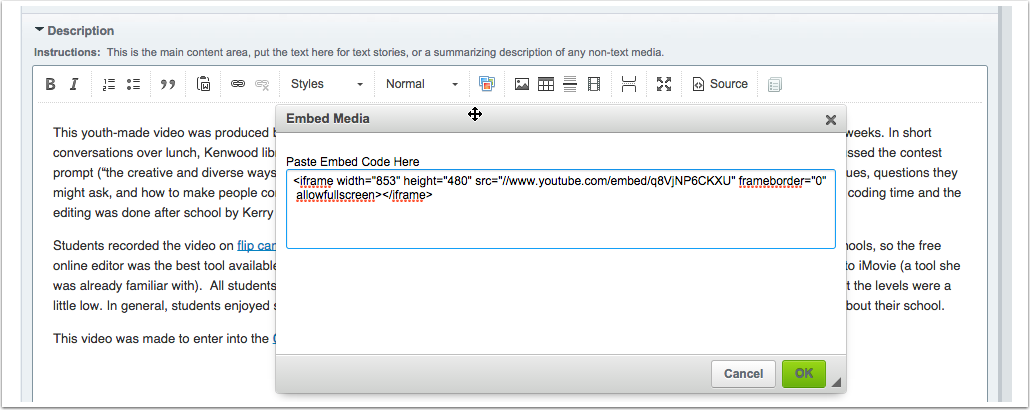
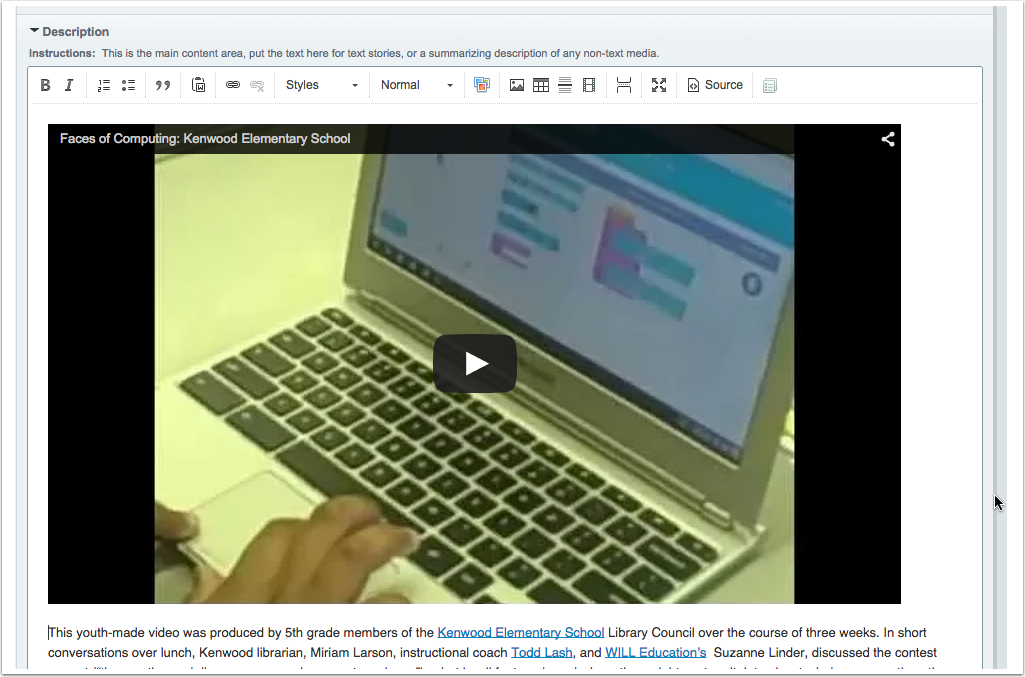
Click OK, and the video should now appear wherever you placed the cursor in the Description field. You can place several videos in a single entry, arrange them within blocks of text, etc., in this way:
Links to other Web Pages (optional)
If you add links they will appear on the web page. To do this:
- Click the “create_first_row” link
- Type the Link Text you want to appear on the web page for the link
- Type (or better yet copy and paste) the full URL for the link including the protocol (http:// or https://) in the Link URL field
- If you want to add more links, click on the small plus sign and repeat
Documents
You can upload a PDF or other text document, and a link will appear on the web page for that entry allowing the user to download that document. To upload a document:
- Click the “create_first_row” link in the Documents field
- Click the Add File link, then the Upload File link that appears in the popup box
- Choose the file, then click Upload File
- Click on Use File
- Back in the Documents entry form, add Link Text for this document. This is what the user will see on the web page.
- If you want to add more Documents, click on the plus sign and repeat.
Since the document is now on our web server, you can share a link to it anywhere you want: email, social media, and other web pages:
- Use the root: http://will.illinois.edu/nfs/
- Add the filename and extension, e.g. mydocument.pdf
- So the full URL to that document would be http://will.illinois.edu/nfs/mydocument.pdf
Important: For all filenames, use only letters, numbers, underscores, or dashes. Any other special characters or spaces in the document filename will break the link for a small but significant number of users.
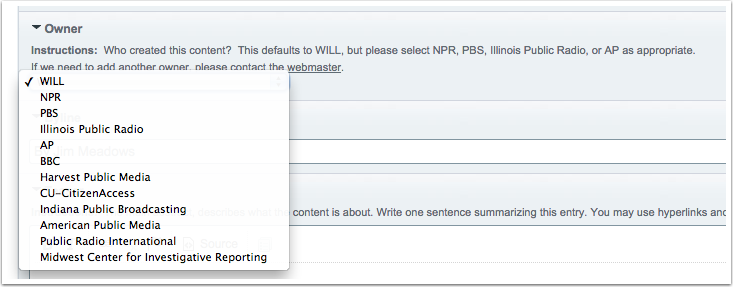
Owner (News section only)
If the News story was created by someone other than Illinois Public Media, use the dropdown list to select the source. If this is a new source and isn’t on the list, contact the Webmaster.

People (optional, not currently visible in most Entry forms)
Currently, very few Entry forms include the People field but we will be expanding this.
The purpose is to add really good metadata about the People relevant to the entry, including people interviewed, and people who produced the content. This makes our web content more search-engine friendly, and is used in things like RSS feeds and to make our web applications more powerful in many ways. If proper names are already contained in the Description field, it may seem redundant to repeat them in the People field, but actually it’s pretty important. As we add the People field to more Entry forms, we’ll need content authors to use them.
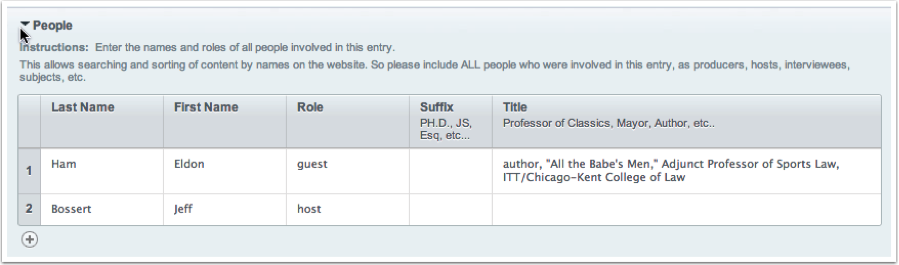
Adding People is simple:
- Enter Last Name
- Enter First name
- Enter the person’s role, like guest, interviewee, producer, host, etc. Use lowercase here!
- Enter the person’s Suffix if appropriate, e.g. M.D
- Enter the person’s title and affiliation
Example:
Related Entries (optional as needed)
You can select one or more existing entries, and make them “related” to the one you are creating. This will pull the related entries into the Entry page like this:
The easiest way to add a Related Entry is to use the “Filter by keywords” search box in the Related Entries field. You can also click the plus sign there to add a filter by Channel, Category, Author, or Status. You can use multiple filters to drill down even further but this probably won’t be necessary. Once you find the Entry you want to make related, just click and drag it from the left pane to the right:
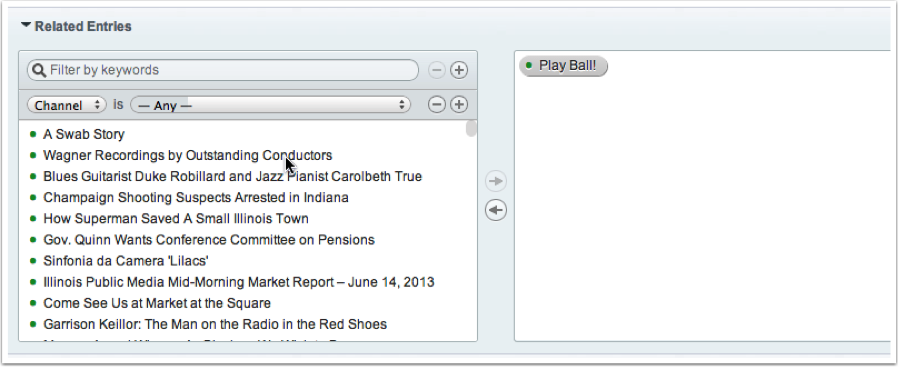
You can add as many Related Entries as you need to.
Text Transcript (optional)
Text transcripts for audio or video content allow the content to be indexed by Google and other search engines. This makes the media content findable by search, and will lead to increased traffic. Transcripts are also important for accessibility
To add a Transcript, simply past the full text into the Text Transcript field:

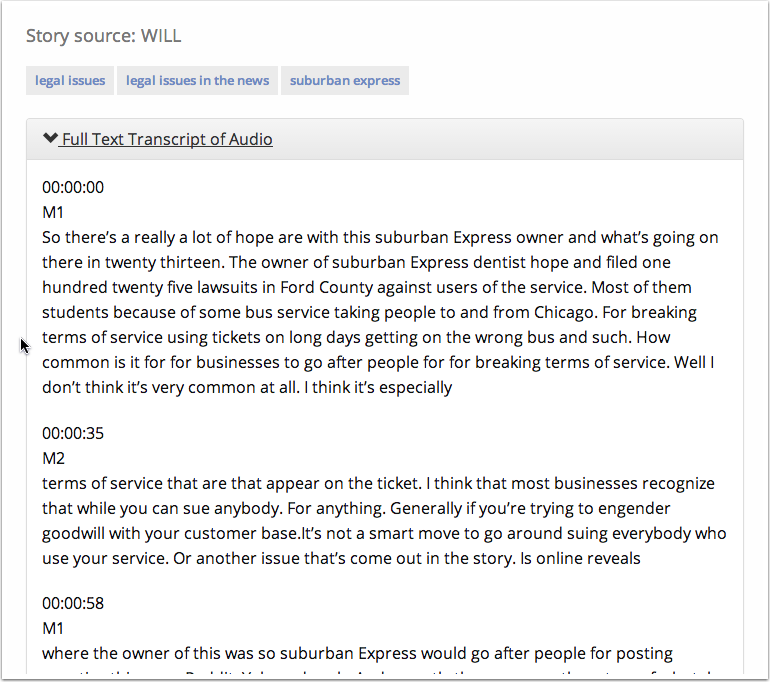
The transcript will then be accessible on the entry's web page inside a collapsable container:
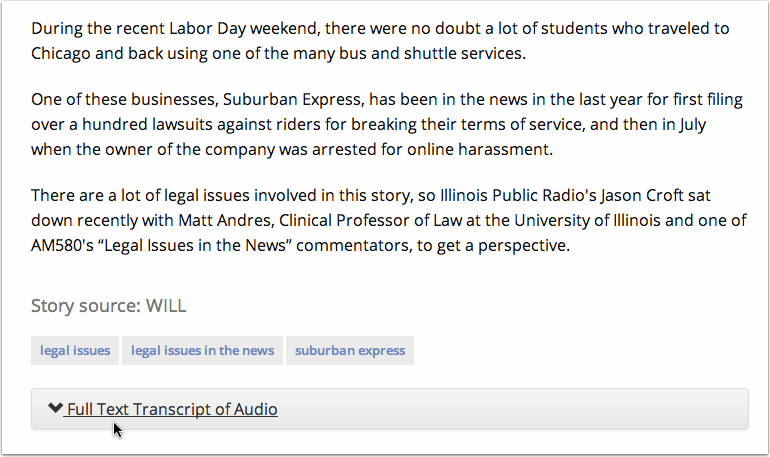
Even when the transcript is collapsed, search engines can index the full text. Click the arrow to view the full transcript: